Guides
How to Do Photo Booth Backdrop Setup Without Help
Photo booth backdrop setup without help: ceiling measurements that pick your kit, the seven-step assembly order, and the checks that catch a lean or a sag.
What to take away
- Most US rental kits use an 8-foot upright and a 3-foot base, so a 9-foot ceiling is the practical floor for pipe and drape.
- Mark the backdrop line before unloading; picking the spot after assembly is what produces the lean.
- A spirit level on the crossbar and drape hooks near 6 inches on center catch most bad setups.
- Sag, creases and a tipped base each have a named on-site recovery.
- If the only attachment point is a structure above 12 feet, the job goes to a rigger.
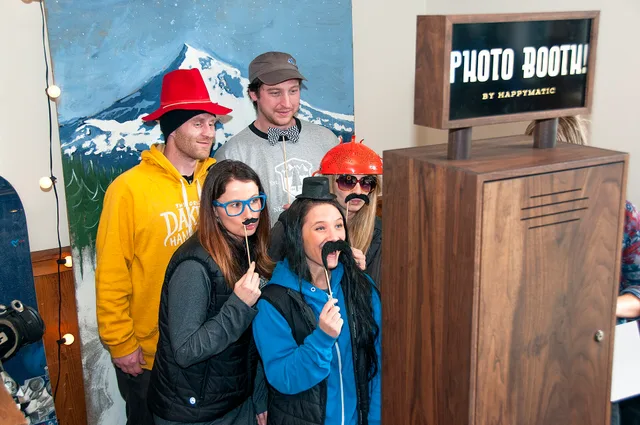
An open-air booth sells the backdrop as much as the camera. US ballroom ceilings usually run 10 to 14 feet, an illustrative range drawn from typical banquet rooms, and portable pipe and drape was sized for that band.
Measure the room before anything comes off the cart
Walk the room with a tape measure or laser distance meter and record the floor-to-ceiling height at both base positions. Look up for sprinkler heads, chandeliers, exit signs and projection screens. Whatever hangs lowest above your line becomes the real ceiling for the build.
Carpet pile swallows a base plate edge, and a dance floor lip under one base tilts the upright. Find the nearest outlet and check what one cord reaches without crossing a walkway.
What has to be true before the first step
- Ceiling height recorded at both base positions.
- Backdrop width matched to the camera frame, not the room.
- Base positions clear of walkways and exits.
- Power inside the reach of one cord that stays out of foot traffic.
- Venue contact briefed on what touches their floor or ceiling.
A blank line here costs more to fix than to prevent. The same standards appear in a photo booth rental checklist, which is worth reading before you build this for a paying client.
The setup sequence
- Mark the line. Tape a strip at each base position, step back ten feet and sight along them. Pass when the two strips read as one line.
- Set the bases. Put a plate on each strip with the spigot up. Press a corner; nothing should rock or slide.
- Stand the uprights. Slide each pole into its base and tighten the pin. Nudge the top; the base should move with the pole.
- Fit the crossbar. Join and lock the sections, then level with a 2-foot spirit level at the middle and at one end.
- Hang the drape. Hook the first panel at one end, pull tension across and work toward the far end. Hooks sit near 6 inches on center with a flat top edge.
- Add the lighting layer. Aim fixtures across the fabric, not into the lens. Stand at the guest mark and look for a hot spot.
- Fire a test shot. Shoot the empty backdrop, then one person at the guest distance. Review on a phone screen for bands and shadows.
The step that decides the result
The drape hang separates a backdrop that looks rented from one that looks improvised. Sag comes from hooks spaced too wide. Creases come from fabric folded in storage and hung cold.
Hooks set near 6 inches on center hold the top edge flat. Overlap each panel over the previous one by the width of a hook so no gap opens at the join. Carry spare panels in the kit, which is the arithmetic behind photo booth rental inventory.
Level the crossbar, hang the drape, then judge the result from the guest mark. That order is the method.
How to check each step came out right
| Step | Check | Pass condition |
|---|---|---|
| Bases | Press each corner | No rock and no slide |
| Crossbar | 2-foot spirit level | Bubble centered at both ends |
| Drape | Tape measure at the top edge | Hooks near 6 inches apart |
| Test shot | Review on a phone screen | No band and no shadow |
Recheck fabric and hardware between jobs, the routine in a photo booth preventive maintenance checklist, because a frayed hem or a bent pin stays quiet on the shelf.
What to do when a step goes wrong
Sag: respace hooks near 6 inches on center and pull tension from the middle outward. Tipped base: sandbag the upstage side of the plate, and swap in a heavier plate on soft carpet. Creases respond to a handheld steamer once the panel hangs with bottom weights.
Never tape fabric or a bar to venue paint without written permission; a lifted finish lands on your invoice. If a fixture still throws a hot spot, stage lighting basics beat trial and error.
When to stop and hand it to a professional
Hand the job to a licensed rigger when the only attachment point is a structure above 12 feet or when the venue requires a certificate of insurance for overhead work. Truss and motor designs belong to that same call.